AppCode Adventure
After upgrading Xcode to 13.1 recently, the coding experience took a nosedive. The most obvious issues I’ve run into are:
- Code completion is basically useless:
- It often takes a long time before any completion items show up.
- For things like
viewDidLoad, which used to complete as an overridden method, Xcode now completes it as a plain method call. I usually have to retry it a few times to get the correct override stub.
- Compile errors don’t show up in time. You only see them after a full Build/Run. Before that, the only hint is that the indentation looks wrong: you can tell something is broken, but can’t see exactly where.
- Xcode is constantly “Indexing…”, which makes the whole machine sluggish and kills productivity.
There are more minor annoyances that I won’t list here; overall this Xcode version is painful enough and the day‑to‑day coding experience is just… bad.
While ranting about this with a friend, I got recommended AppCode. I spent a weekend tweaking it, and this post is a brief record of that journey.
AppCode
AppCode is JetBrains’ IDE for iOS/macOS development. I won’t repeat the entire feature list here; if you’re curious, just visit the official site. The key line that immediately caught my eye was:
AppCode is 100% compatible and interoperable with Xcode.
That “100% compatible with Xcode” line is what sold me. Most of my teammates use Xcode; if we can’t collaborate seamlessly, any amount of tweaking is pointless.
I haven’t bought a JetBrains license yet, so I’m using the 30‑day trial. That’s more than enough for tinkering and getting a sense of the experience.
IdeaVim
If you’re using a JetBrains IDE and you’re a Vim person, IdeaVim is a must.
For those unfamiliar: IdeaVim is JetBrains’ official vim emulation plugin, open‑sourced on GitHub. (Compare that to Xcode: after all these years, Apple still only ships a half‑baked Vim Mode.)
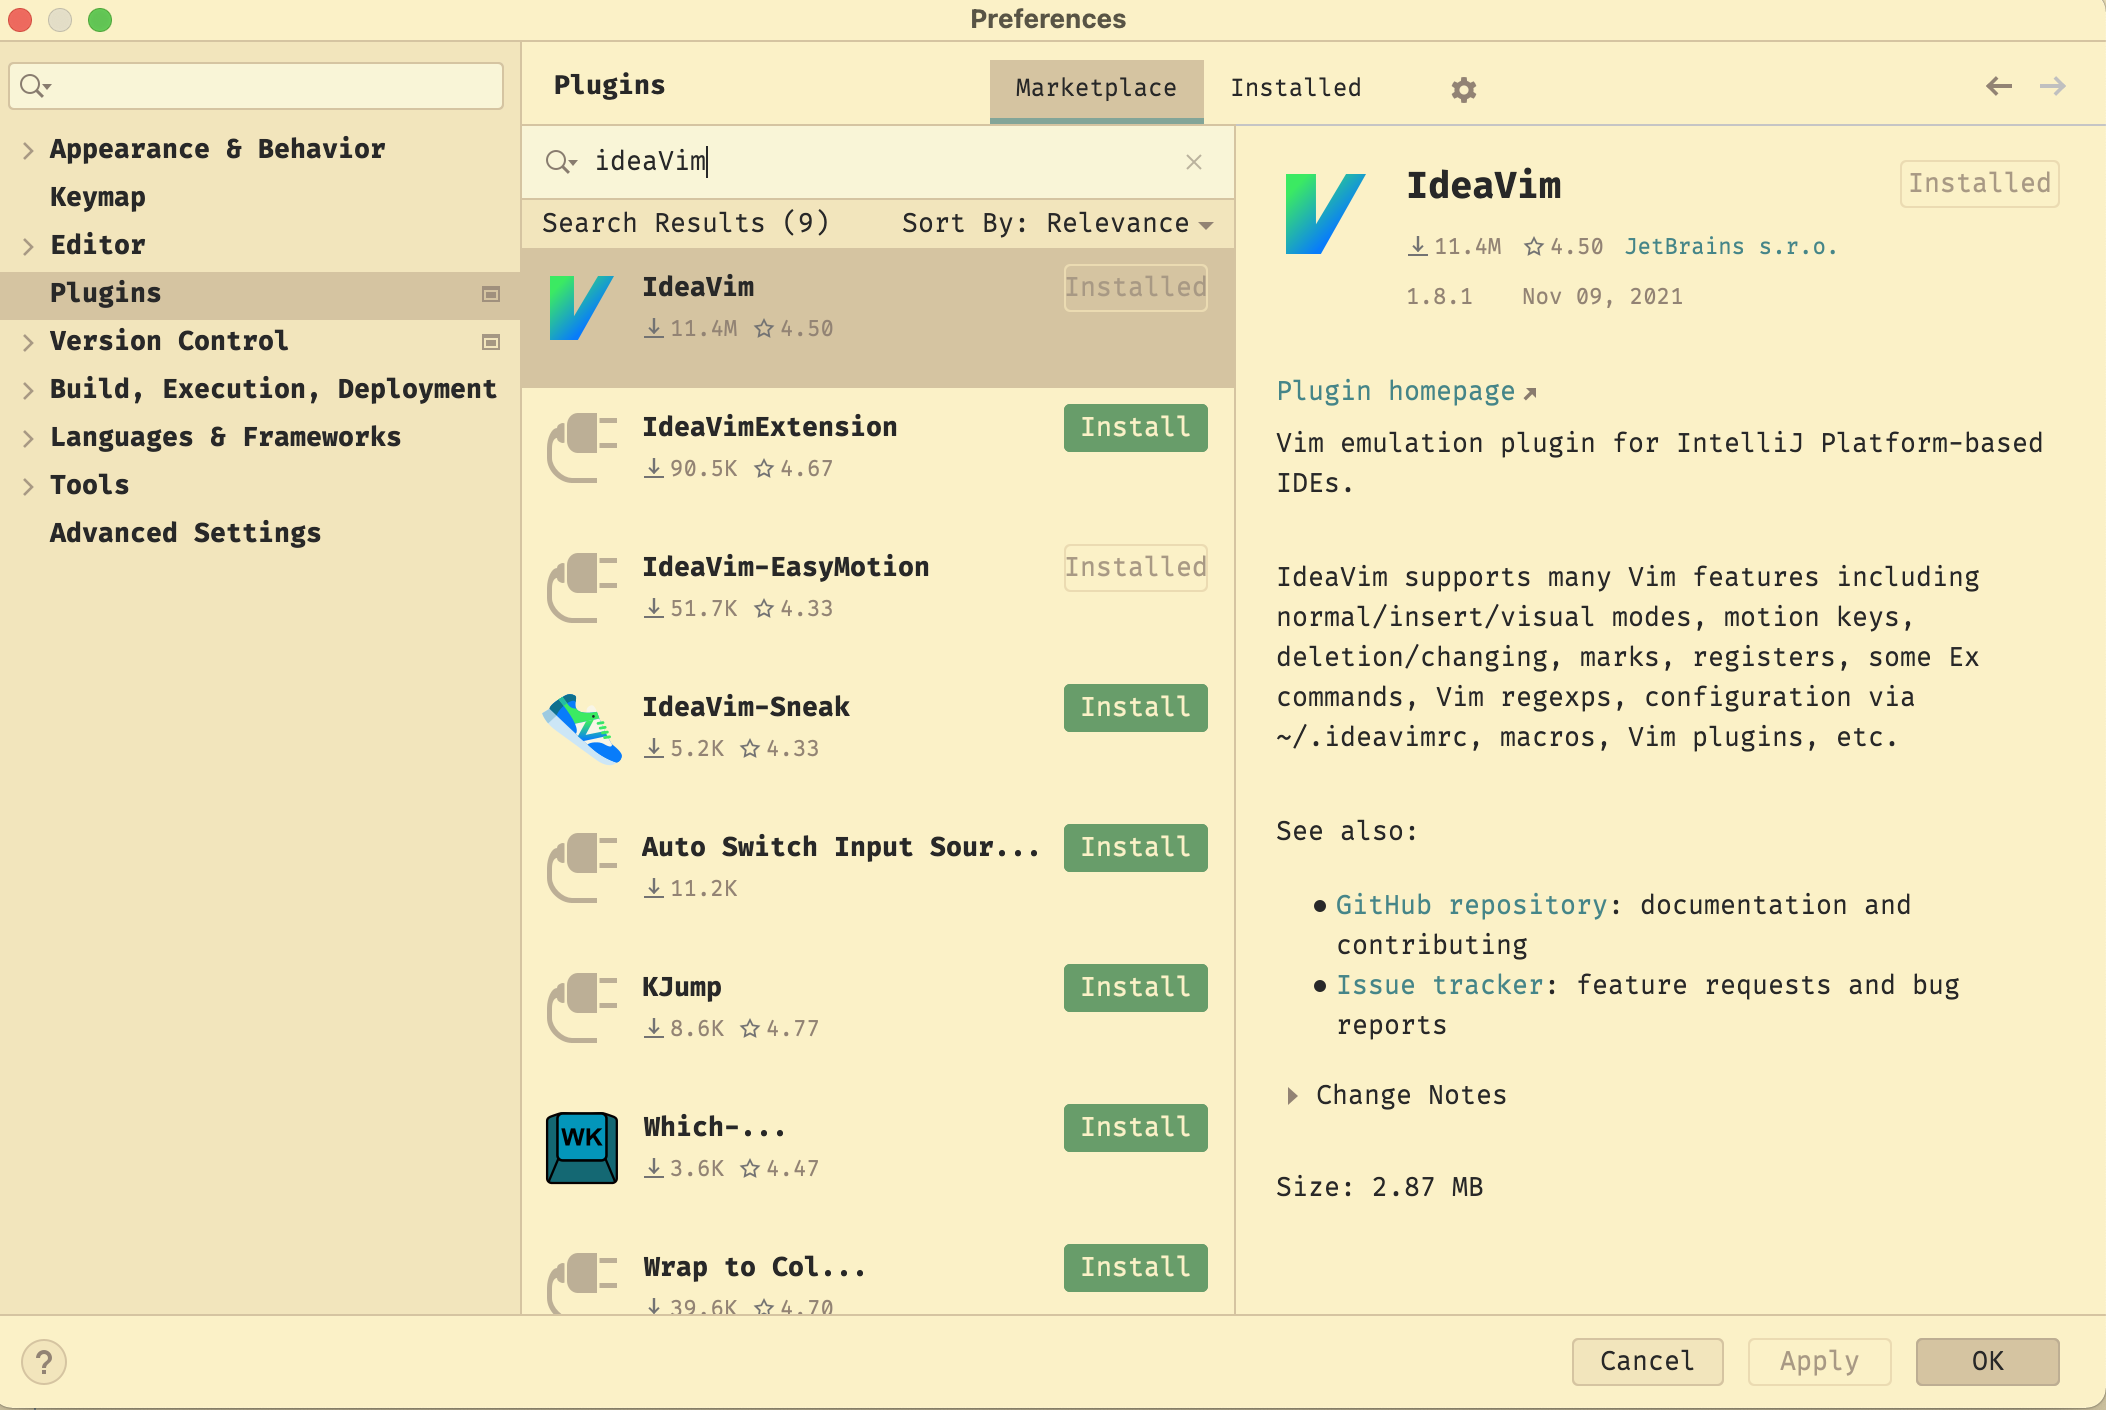
Installing IdeaVim is straightforward: just search and install it from Preferences → Plugins:
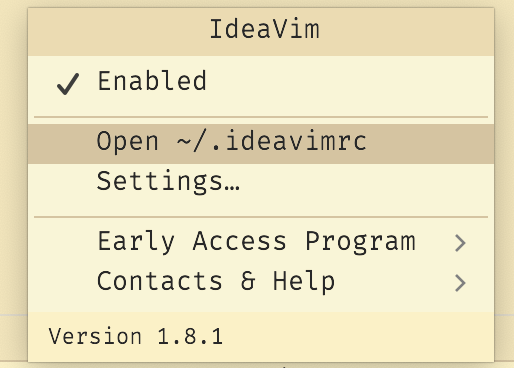
After installation, AppCode will prompt you to restart. Once it’s back up, if you can move the cursor with hjkl in the editor, IdeaVim is active. You’ll also see an IdeaVim icon at the bottom of AppCode; click it to open IdeaVim’s config file (the default path is ~/.ideavimrc, but XDG paths are also supported):
Exactly what to put into this config is pretty personal, so I won’t go into detail. The IdeaVim wiki is a good starting point, and you can also peek at my config (a fair bit of it is borrowed from others -,-). I’ll just call out a few points:
- IdeaVim has built‑in emulation for several popular Vim plugins; you can turn them on by adding
set plugin_namein the config.- For most plugins that’s enough, but vim‑easymotion requires additionally installing the AceJump and Idea‑EasyMotion plugins from AppCode’s own plugin marketplace.
- IdeaVim lets you map editor actions directly. Actions are IDE‑level operations like “Build”, “Run” etc. For example, you can simulate Xcode’s
⌘ + Bbuild shortcut with a mapping likenmap <M-b> <Action>(Build). The syntax and how to discover action IDs are well documented in the README, so I won’t repeat that here. - On macOS, IdeaVim mappings can use the
⌘key. See the example above.
Theme
By “theme” here I mean AppCode’s UI theme; I use my own custom color scheme for the code editor.
The first impression after launching AppCode was a very strong “Java” vibe, and the interface felt much busier than Xcode. Fortunately, JetBrains IDEs have very powerful UI customization, so we can streamline it a bit.
“Powerful” here isn’t just about dragging panels around: JetBrains also exposes a lot of theming APIs. I didn’t go that far this time; I went with existing theme plugins instead.
Initially I tried the official Material Theme UI that the docs recommend. After installation, AppCode definitely looked cleaner, but the overall experience wasn’t great:
- The free version only lets you tweak a few simple options; advanced customization requires a paid subscription.
- I really couldn’t stand some of the default colors (yes, I’m looking at you, pink scroll bar).
Then I found a Sepia Theme plugin in the marketplace. Its main color tone pairs very nicely with my gruvbox-material color scheme, so I ended up using that instead. The screenshots in this post are all with that theme.
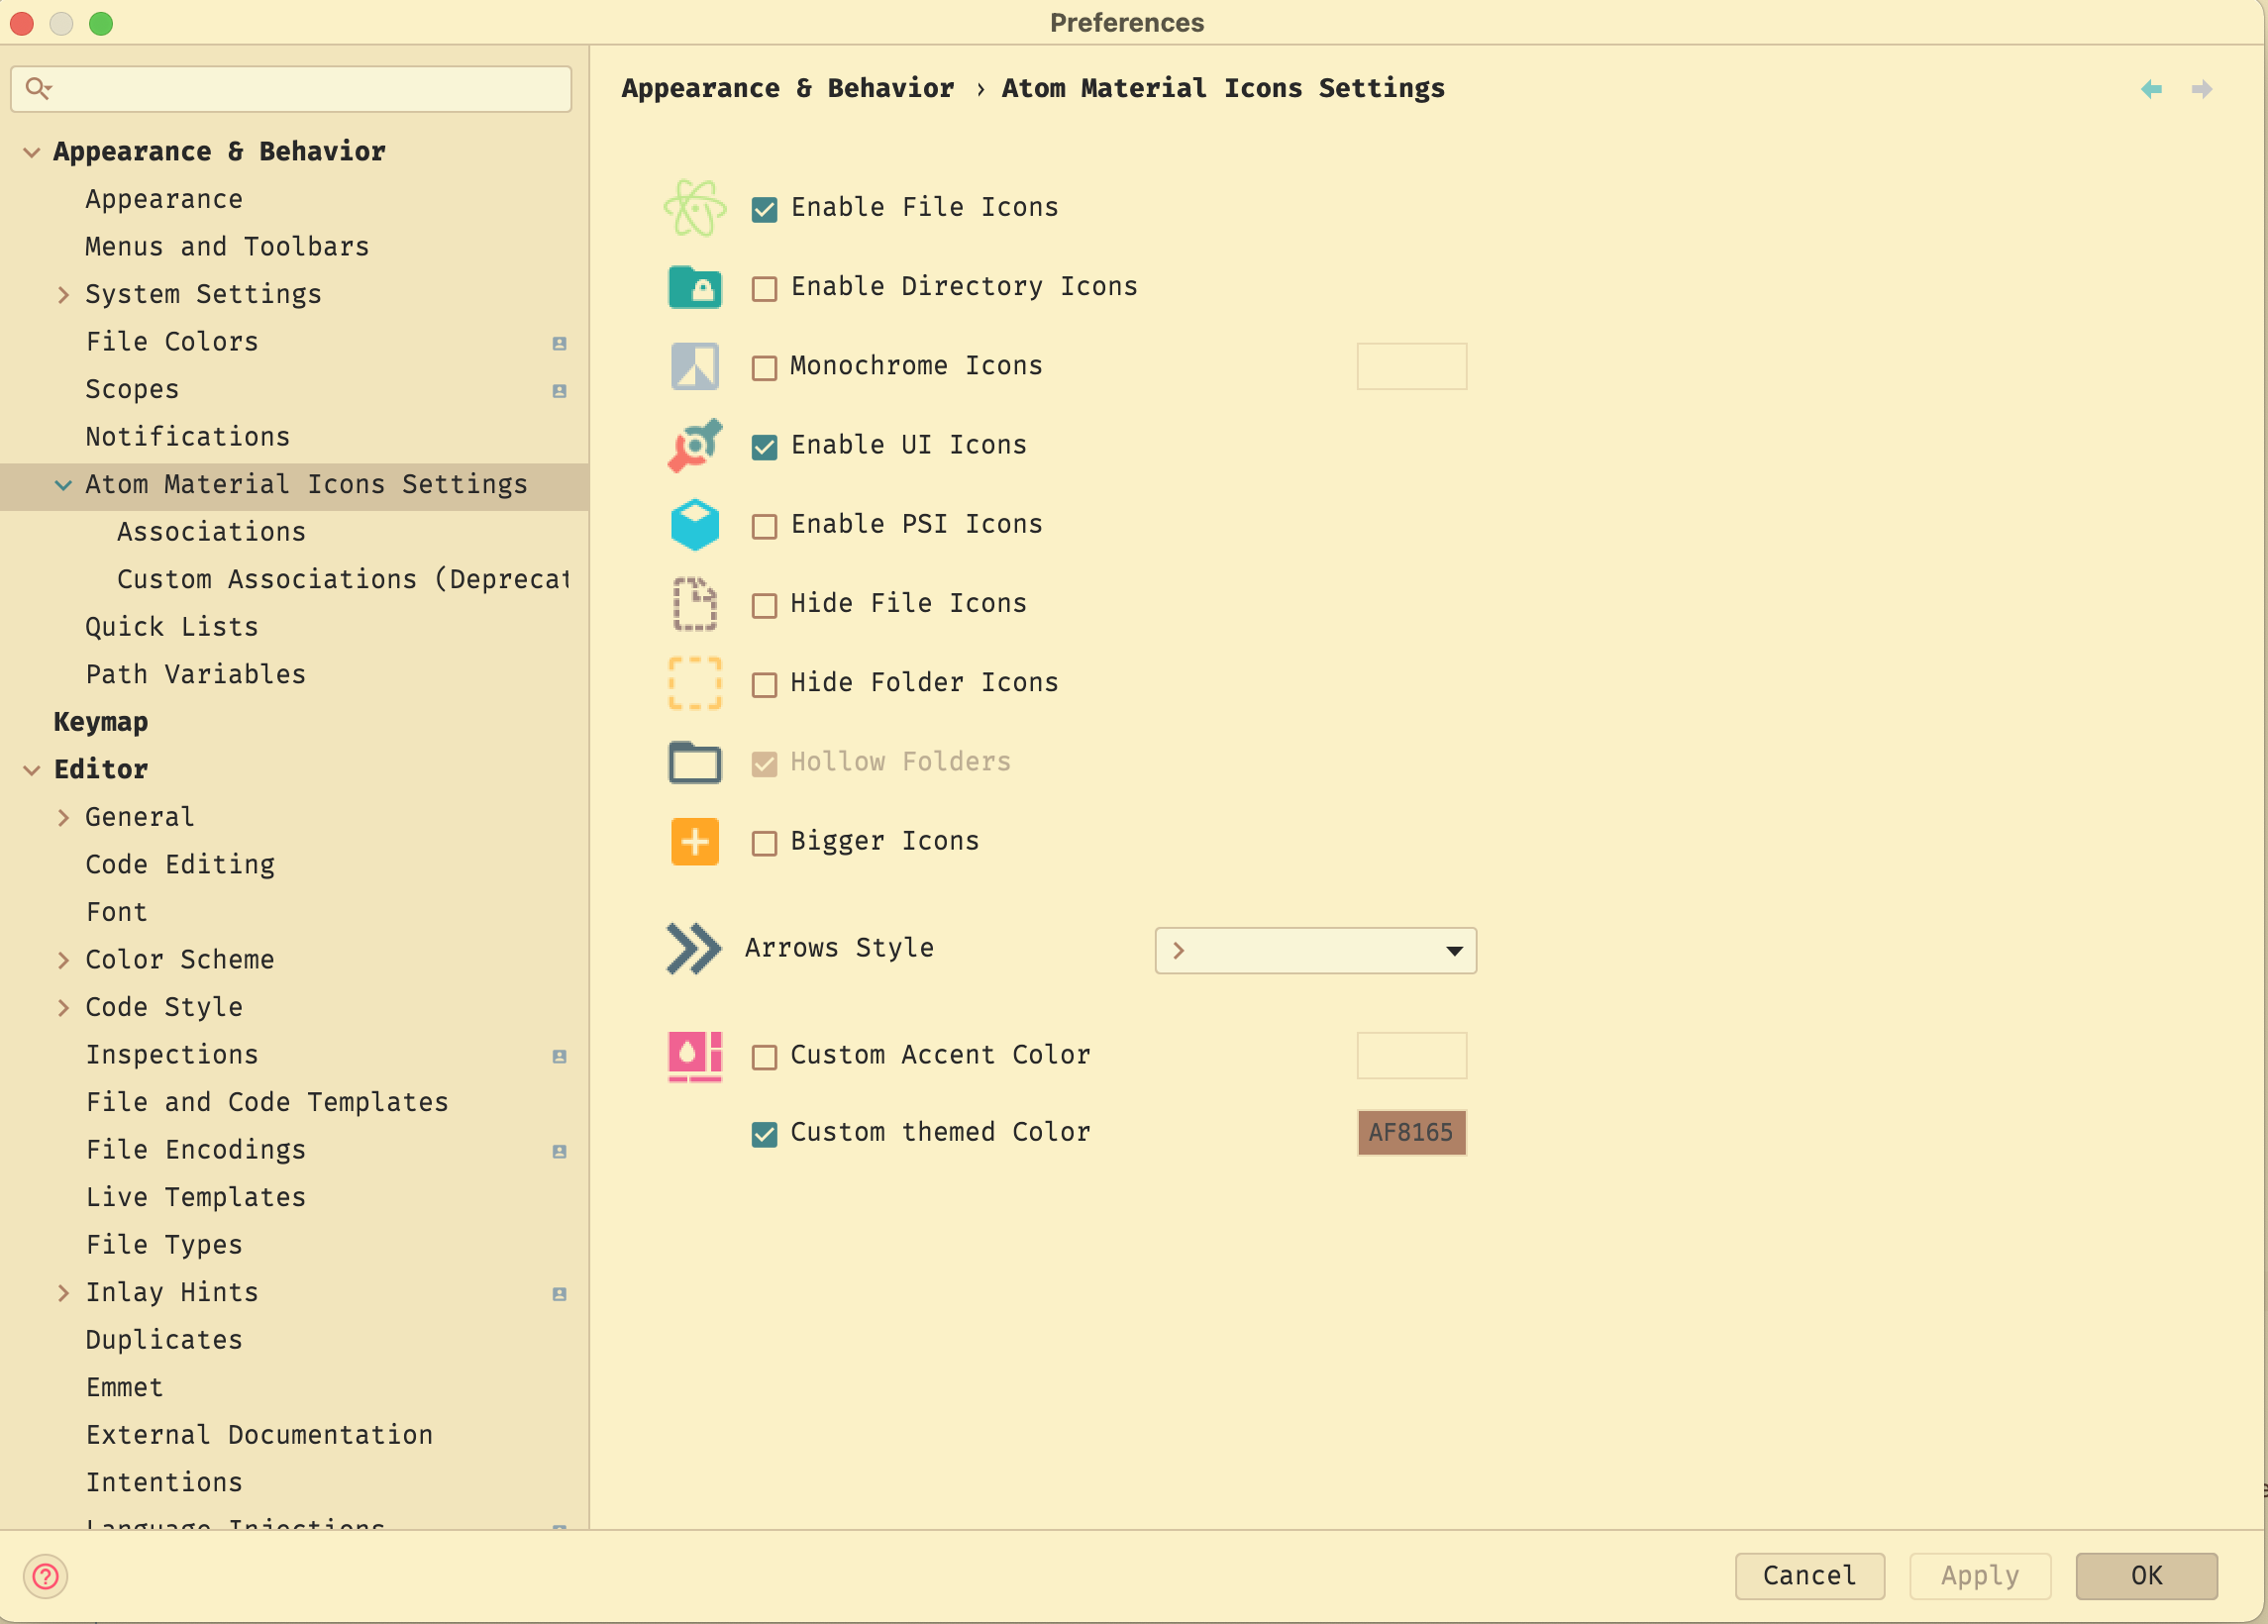
In addition to the main UI theme, I also installed Atom Material Icons to improve file icons. It replaces AppCode’s default file icons with nicer ones and has a few configuration toggles:
One more small tip: you can click the icon in the lower‑left corner of the window:

This hides the sidebars like this (screenshot only shows the top part):
Color Scheme
I left the color scheme part to the end because I naively thought there would already be first‑party or third‑party gruvbox-material light themes for JetBrains IDEs. Turns out I was too optimistic: I had to roll my own again. Thankfully, this wasn’t my first time hand‑porting gruvbox‑material, and while I can’t claim pixel‑perfect fidelity, it’s at least pleasant enough for me.
Usually a theme plugin will include an editor color scheme, but you’re free to choose a different scheme.
Creating a custom scheme is simple: copy an existing one and tweak it (or edit the existing scheme directly, but I prefer keeping a separate copy):
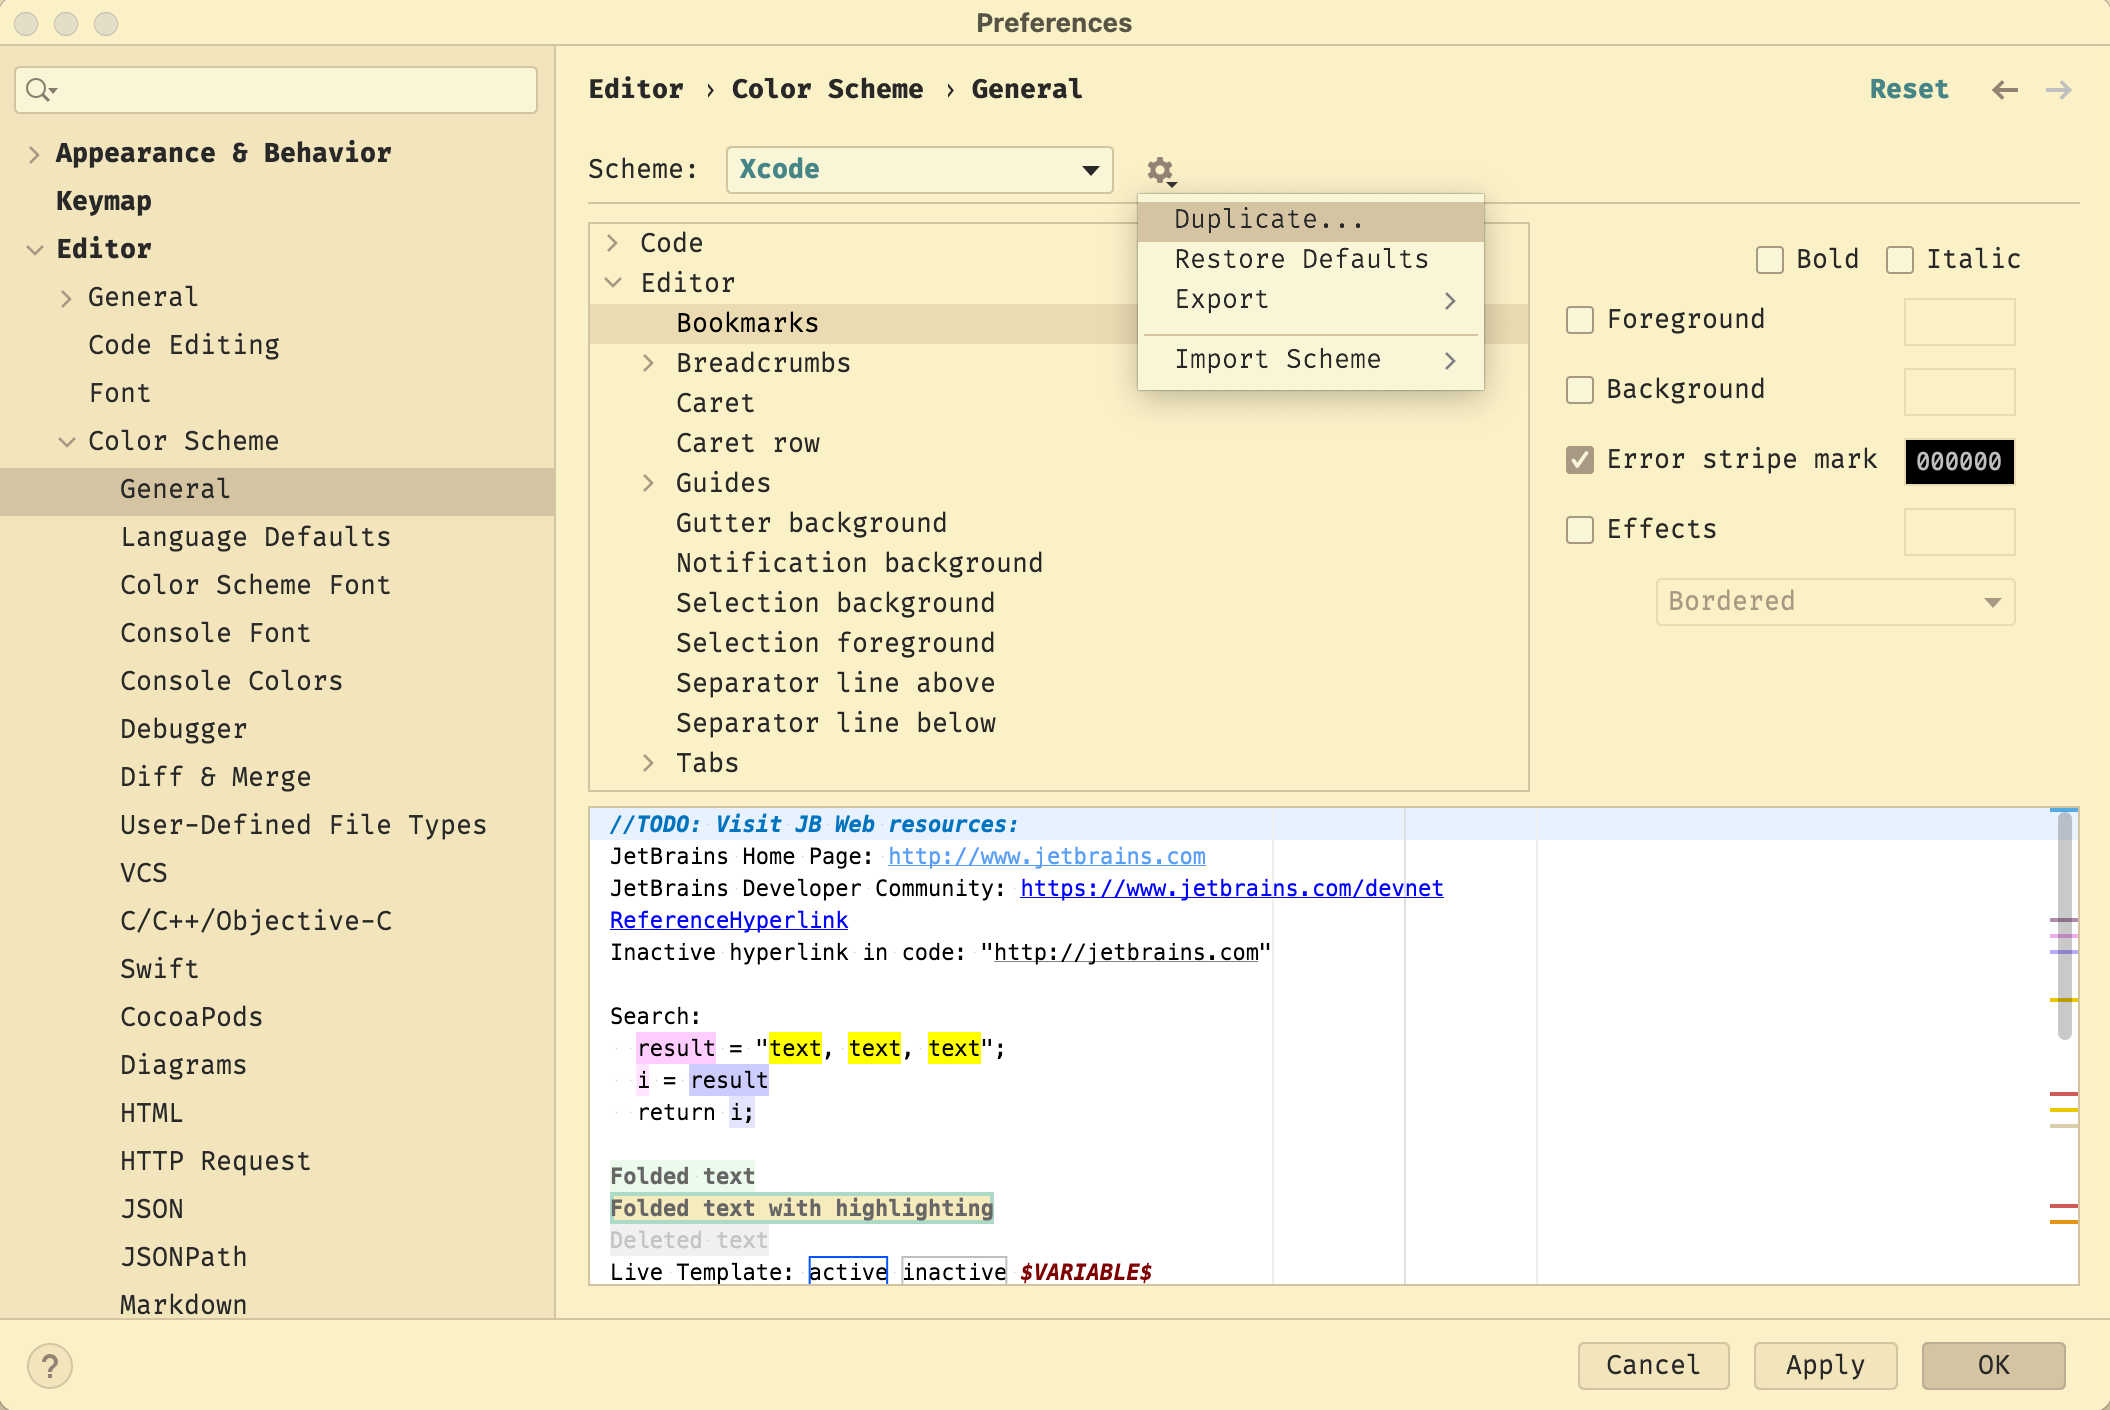
Then just adjust colors, fonts, etc. in the various categories (I forgot to highlight the VCS section in the left sidebar in red):
This part isn’t hard, just tedious and time‑consuming. But AppCode’s UX here is excellent: the UI clearly shows which part of the editor a setting affects, and you get live previews. Compared to Xcode, it’s not even a fair fight.
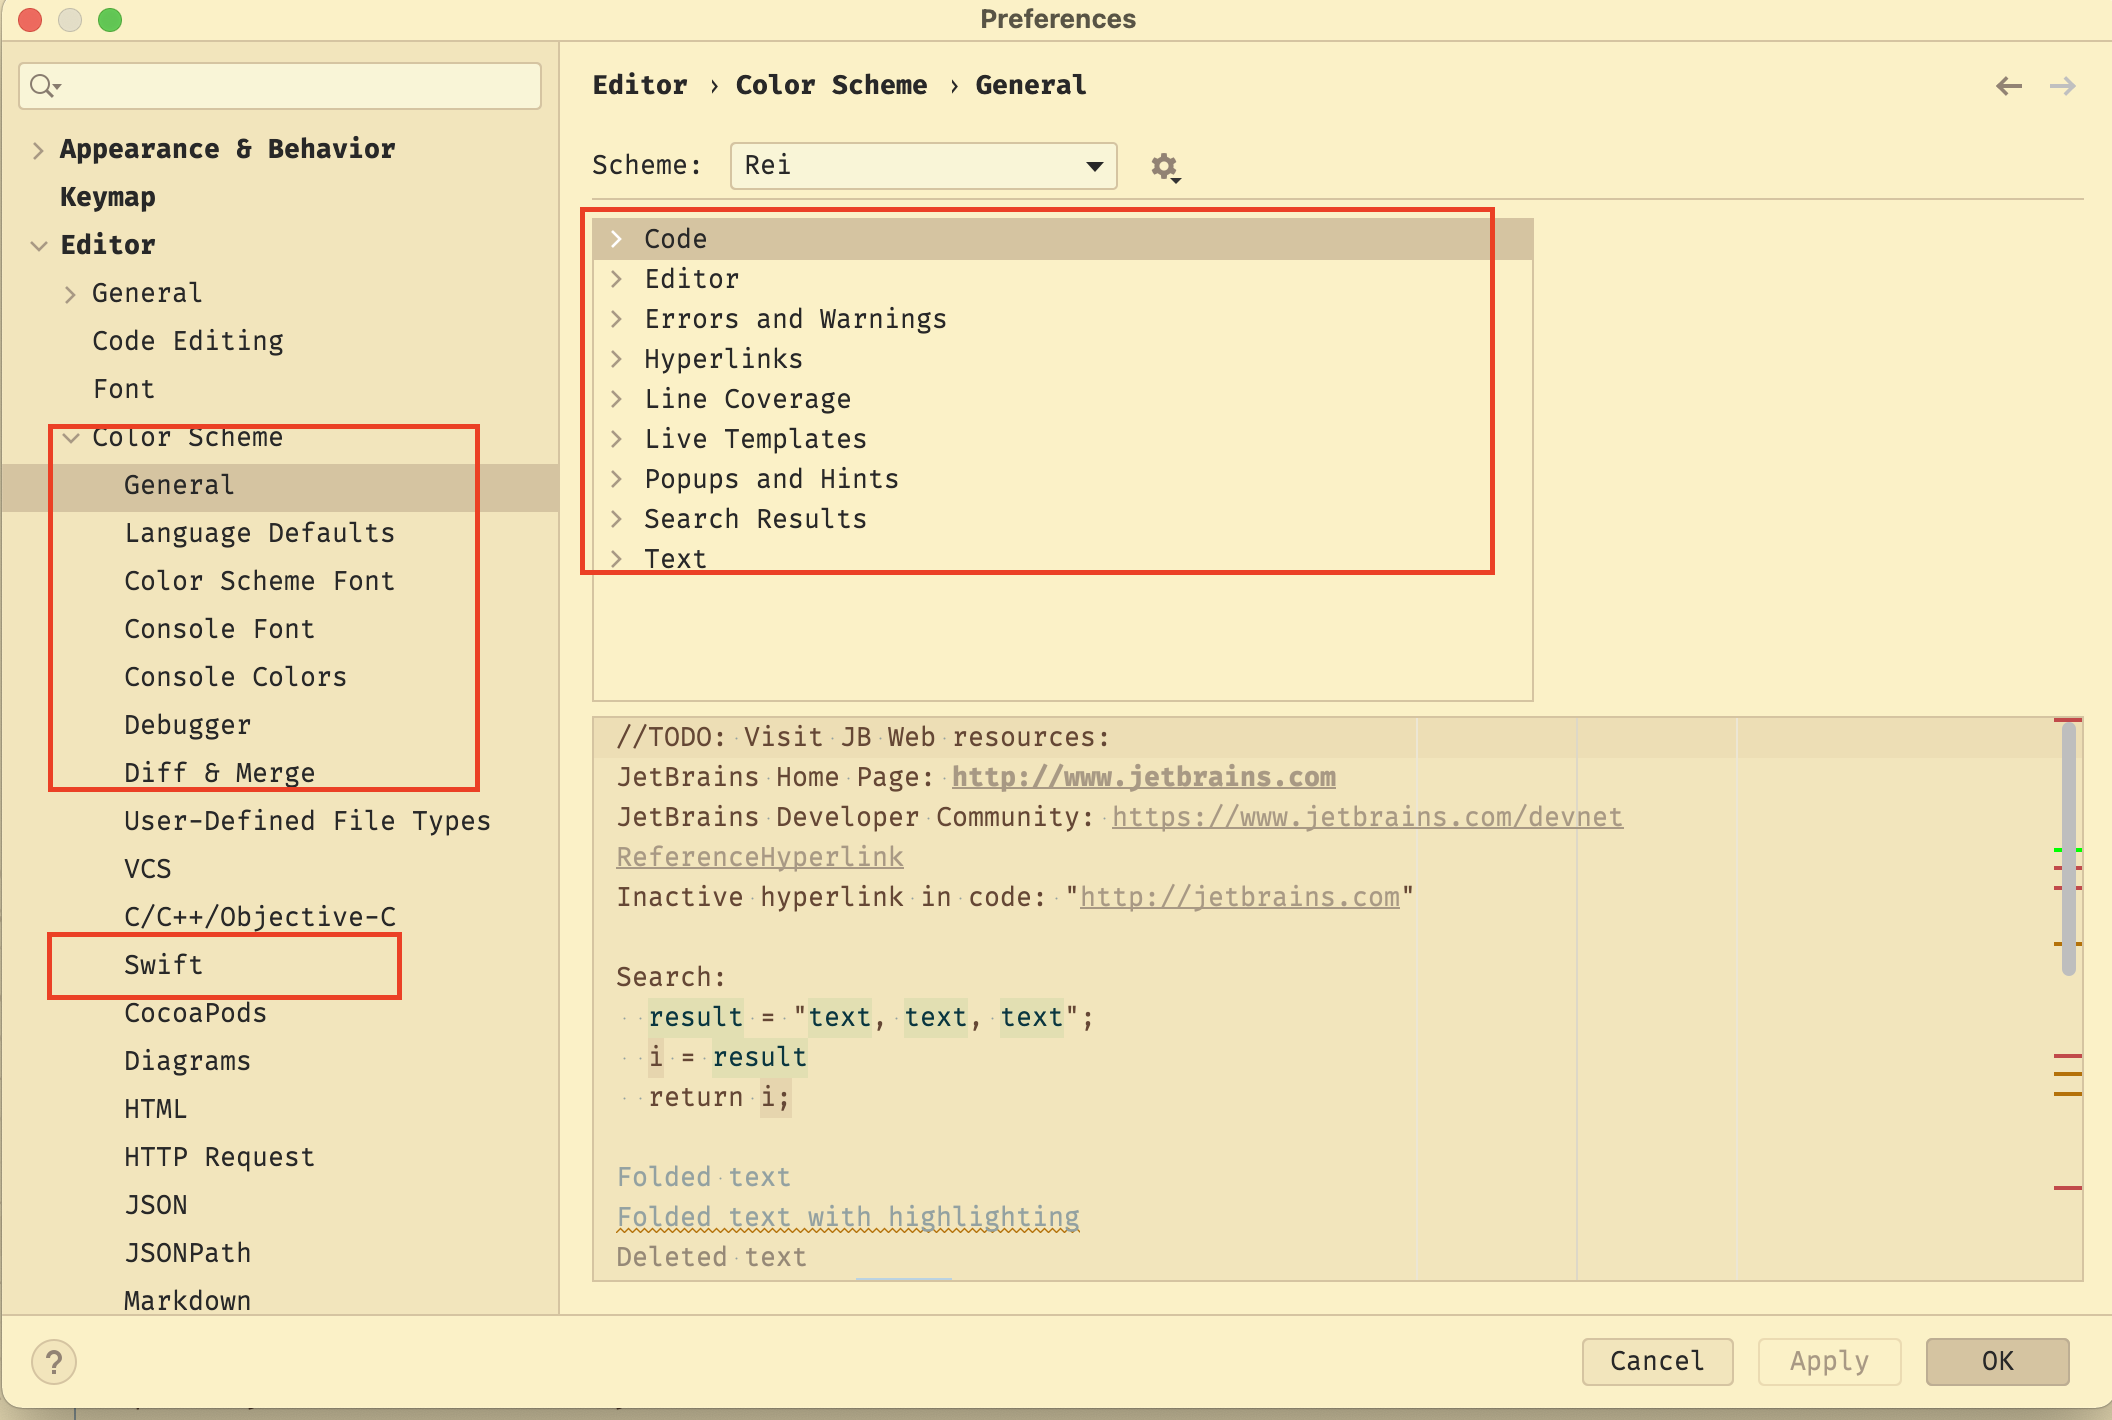
I’ve put my final color scheme on GitHub. If you want to use it, just import the .icls file from the repo.
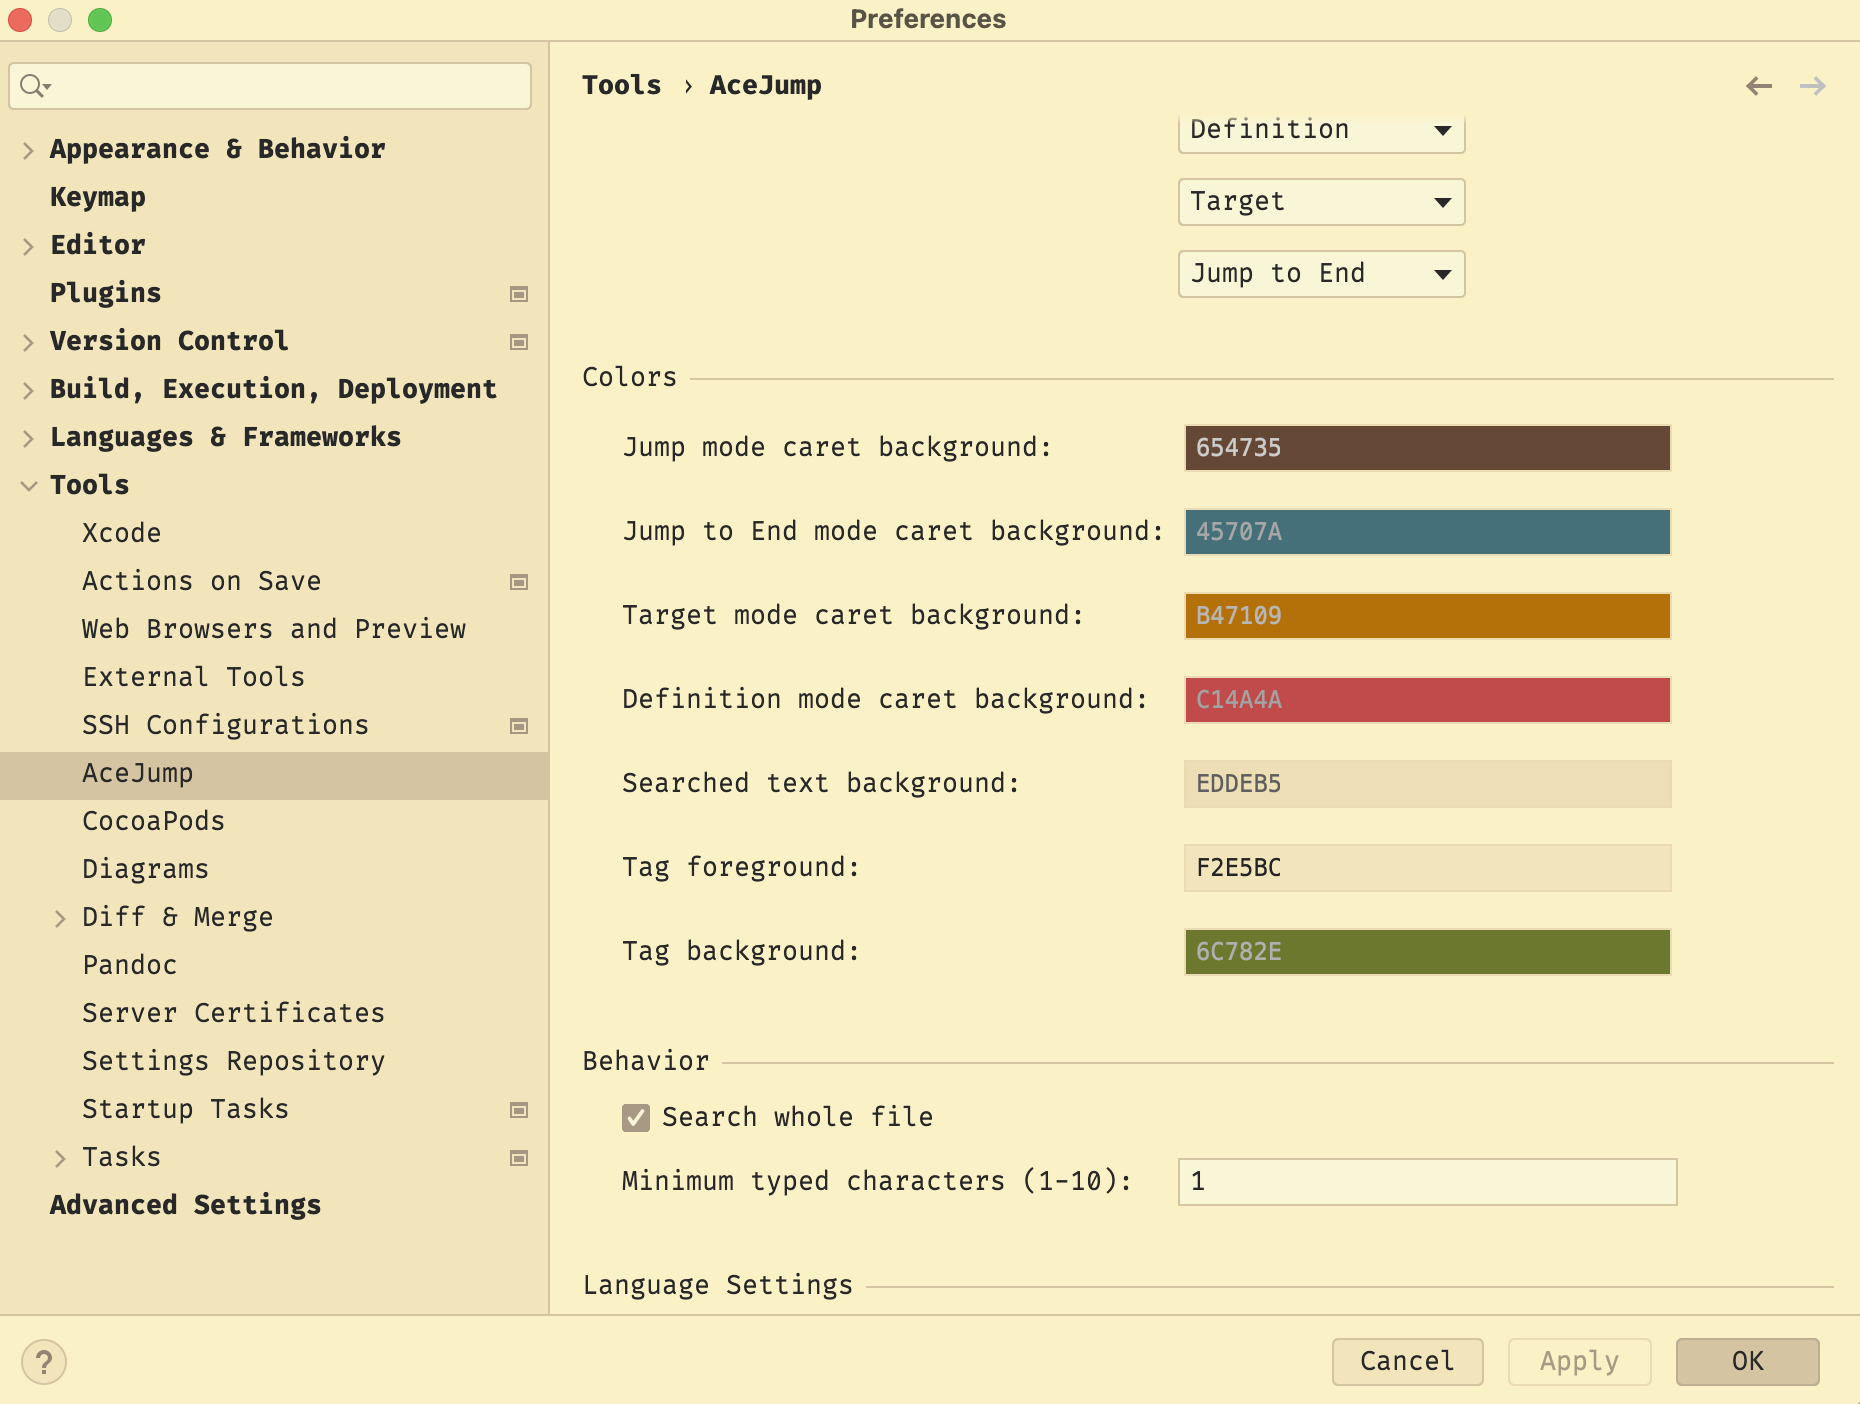
That about wraps up the initial tweaking work. One more small note: the AceJump plugin I mentioned earlier also has customizable colors:
Before diving into real‑world usage, let’s make sure IDE Settings Sync is turned on.
Enabling it is simple: click the little cloud icon in the bottom‑right corner of AppCode:

You’ll get a dialog like this:
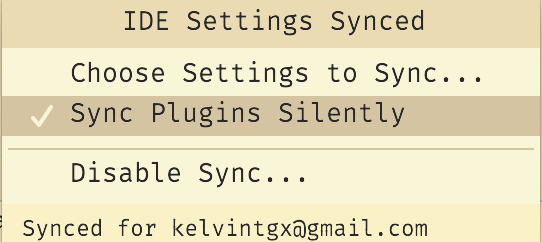
Follow the steps in that dialog to configure it, and AppCode will sync your settings to the cloud. If you have AppCode installed on multiple machines, they’ll automatically share settings without re‑configuration.
Hands‑On Experience
Now let’s talk about what AppCode is like to actually use.
Coding
After using AppCode for about a week, my first impression is: writing code feels great.
With IdeaVim, the editing experience is much closer to real Vim, and my coding speed is clearly higher than with Xcode + XVim. That’s not XVim’s fault: XVim already does everything it possibly can within Xcode’s constraints. The problem is that Xcode itself is too closed and doesn’t provide enough hooks for a good vim experience.
Code completion also feels noticeably faster than Xcode. When completion is loading, AppCode shows a loading indicator instead of leaving you staring at an empty popup wondering if it’s doing anything (like Xcode does). There are lots of small polish points as well—for example, when completing overrides, AppCode automatically inserts the super call for you.
But, Xcode has one completion UX advantage: its completion popup can show documentation for the currently highlighted item, which AppCode lacks.
Refactoring tools are another area where AppCode shines. Take renaming as an example: in Xcode, renaming is slow and error‑prone. It has to gather all references in a separate UI first (which occasionally fails and then keeps failing until you restart Xcode), and only then can you apply the rename. AppCode, by contrast, lets you edit in place in the original editor and then applies changes across all relevant files. Since all of this happens inside the editor, IdeaVim remains fully usable while refactoring.
AppCode also has excellent code analysis. It can highlight problems in real time—not just compile errors, but also unused code and even typos. This has noticeably improved my code quality. The spell checker in particular has caught many typos in my older code. (Xcode does have a spell checker too, but it needs manual enabling and still doesn’t feel as smooth as AppCode’s.)
And of course there’s all the usual stuff: go to definition, find usages, quick documentation, etc. Overall, the coding experience is significantly better than Xcode.
Debugging
In terms of app debugging, AppCode is weaker than Xcode in a few areas:
- After hitting a breakpoint, newly added breakpoints sometimes fail to bind; you need to re‑run the app. I haven’t tracked down the cause yet.
- When doing on‑device debugging, you occasionally get
Timeout when communication with deviceerrors. The workaround is to reselect the same device from the device dropdown and run again. - The console doesn’t support filtering logs by keyword out of the box. You can fix this by installing the Grep Console plugin.
- There are no default shortcuts like Xcode’s
cmd+shift+yto show/hide the console, orcmd+kto clear it. AppCode doesn’t ship keybindings or actions for these; you have to use the mouse for now. - To inspect the UI hierarchy in AppCode, you need Reveal, which is a paid subscription product. Alternatives include using FLEX or falling back to Xcode’s tools.
- AppCode can’t show a Memory Graph the way Xcode does; you have to use Xcode for that.
Personally, I can live with these issues. Some of these features aren’t used constantly anyway, and their impact is nowhere near as bad as Xcode’s poor coding experience.
To be fair, AppCode does bring some nice debugging‑related improvements:
- AppCode separates Run, Debug, and Profile into three distinct modes.
Profilemaps to Xcode’s Instruments.Debugcorresponds to Xcode’sRun—running the app with lldb attached.Runin AppCode is just running the app without attaching lldb, which is great when you just want to quickly see UI changes without paying the cost of a debugger. - When a breakpoint is hit, AppCode can show local variable values inline in the editor. That means you can inspect values while reading the stack without constantly shifting your gaze between the debugger and the code.
Other Issues
A few smaller quirks I’ve run into while tinkering with / using AppCode:
-
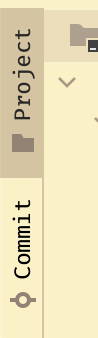
In the Project view, there’s no way to hide the local path of the project, i.e. the part in the red box:
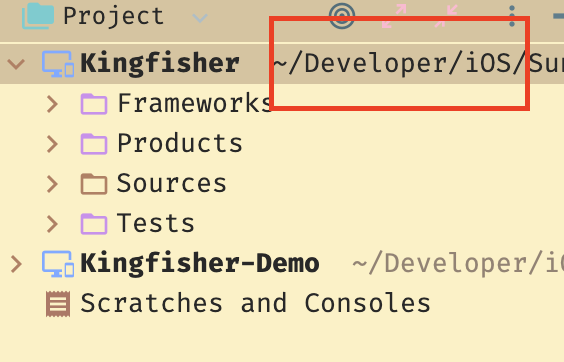
This path isn’t really useful and wastes space, causing the panel to be horizontally scrollable. My inner neat‑freak was very bothered at first. I spent quite some time searching for a solution online, but even the official solution didn’t help in my case, so I eventually gave up.
- AppCode can’t view or edit
storyboard/xibfiles. Opening them in AppCode just hands them off to Xcode. Since I build my UI entirely in code, this doesn’t affect me much. - AppCode can’t add/edit assets in
xcassets. It just treats them as regular folders. You need Xcode for asset management, and AppCode can’t preview images itself either; opening an image just launches Preview. - In the completion popup, pressing Tab doesn’t move to the next completion item like in Xcode; it selects the current one. There’s no way to remap this, so you have to rely on arrow keys instead. I use Karabiner to globally map
alt+hjklto arrow keys, so this isn’t a big hit to ergonomics for me. -
Like VSCode, AppCode doesn’t wrap long lines by default, so you have to scroll horizontally. You can change this per file type in the settings:
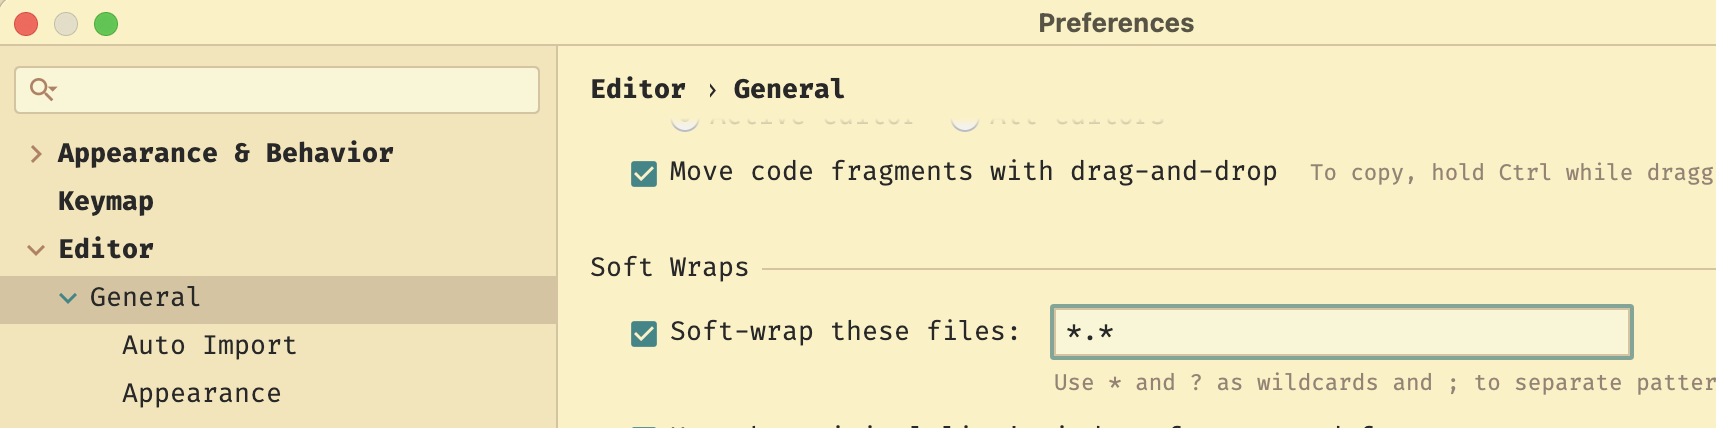
I set it to
*.*, which effectively enables wrapping for all files. - AppCode doesn’t support live previews for SwiftUI.
Summary
This post covered the setup and initial experience of switching to AppCode.
AppCode offers a genuinely compelling alternative for iOS development, with far more room for customization and tinkering than Xcode. It doesn’t mean AppCode is perfect—far from it. Based on my usage over the past few days, there are definitely rough edges and missing features. Both tools have strengths and weaknesses, and in real projects you’ll likely use both together.
If you’ve read this far and are thinking “maybe I should give AppCode a try”, my suggestion is: don’t hesitate—just do it. You’re unlikely to regret it.