Alacritty + tmux Adventure
I recently switched my terminal from iTerm2 to Alacritty. This article documents that whole adventure.
Alacritty
Alacritty is an open‑source terminal emulator released by Joe Wilm in 2017 (referred to simply as “terminal” below). Because of poor performance using Vim and tmux in other terminals (not fast enough), Joe wrote a new terminal in Rust. He introduces it as:
Alacritty is a blazing fast, GPU accelerated terminal emulator.
My first impression using Alacritty is: it’s fast. Although iTerm2 added GPU acceleration quite a while ago, there is still a visible performance difference compared with Alacritty.
Another impression is how minimalist Alacritty is. Its macOS menu bar has only one menu item and clicking it does nothing (this is probably the default item macOS creates for every app):

Installation
Installing Alacritty on macOS is straightforward with Homebrew:
brew install --cask alacritty
Configuration
Alacritty is configured via alacritty.yml. You need to create this file yourself and place it in an appropriate directory. I use $XDG_CONFIG_HOME/alacritty/.
If you manage your dotfiles in a unified way, this is very convenient and is one of the reasons I like Alacritty. iTerm2 is comparatively a bit awkward:
- Its config file is not under
$XDG_CONFIG_HOMEby default; you have to change that manually. - On macOS it uses a plist configuration file. You can configure it via the GUI, but for me that’s not very efficient.
- As long as you’ve clicked around in the settings UI, even without changing values, the plist will keep changing. If you manage dotfiles with git, you’ll constantly see diffs for it. Even if you discard the changes with git, the next time you open iTerm2 those diffs come back.
Once the config file is created, you can happily start tweaking it. Alacritty automatically reloads its configuration when you save the file, which is very convenient.
For any new tool, the first thing I tweak is always the UI.
First up is the icon. The default Alacritty icon on Big Sur looks completely out of place in both style and size:
![]()
Searching through the GitHub issues, I found plenty of people who cared about the icon as much as I do (issue link). The author, however, has no intention of adding a macOS‑specific icon. Fortunately, someone from the community designed a new icon and uploaded it to Dropbox.
Here’s how the new icon looks:
![]()
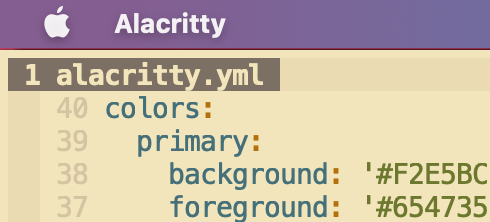
Next is the color scheme. I continue to use gruvbox-material, which I use everywhere in my CLI setup. The theme’s author provides first‑class Alacritty support. Since I only need the light-soft variant, I extracted the relevant part and made a few tweaks:
colors:
  primary:
    background: "#F2E5BC"
    foreground: "#654735"
  normal:
    black: "#654735"
    red: "#C14A4A"
    green: "#6C782E"
    yellow: "#B47109"
    blue: "#45707A"
    magenta: "#945E80"
    cyan: "#4C7A5D"
    white: "#968977"
  bright:
    black: "#654735"
    red: "#C14A4A"
    green: "#6C782E"
    yellow: "#B47109"
    blue: "#45707A"
    magenta: "#945E80"
    cyan: "#4C7A5D"
    white: "#968977"
  selection:
    text: "#F2E5BC"
    background: "#968977"
  search:
    matches:
      foreground: "#EDDEB5"
      background: "#69791D"
    focused_match:
      foreground: "#EBD9AE"
      background: "#BF6D00"
    bar:
      background: "#654735"
      foreground: "#F2E5BC"
For fonts, I stick with Fira Code everywhere as well:
font:
  family: Fira Code
  size: 14.0
Alacritty lets you configure different fonts for different styles, but I prefer consistency, so I just use Fira Code Regular at size 14 for every style.
Lastly, some window‑related settings:
window:
  decorations: none
  padding:
    x: 4
    y: 4
  startup_mode: Maximized
decorations: none tells Alacritty not to draw any extra window chrome. On macOS that looks like this:
Even the three system buttons in the top‑left corner (close, minimize, maximize) are gone, which looks very clean to me.
Two notes here:
- If you only set
decorations: none, content will be drawn right up against the window edges, so you’ll probably want some padding. I chose4, as in the screenshot above. - Without the buttons, you can’t drag the window with the mouse anymore, though keyboard shortcuts like
cmd+qstill work. That’s not a problem for me, since the terminal is a long‑running tool for me and I rarely move its window—I just keep it maximized. Hence I usestartup_mode: Maximized, so Alacritty always opens maximized.
At this point Alacritty is “good enough” for my daily use. If you want to see the full set of options, check out the default configuration; it lists every key, all possible values, and detailed comments.
To summarize why I switched from iTerm2 to Alacritty:
- It is visibly faster than iTerm2.
- Configuration is simple and easy to manage.
- It is intentionally minimal: the author avoids adding features that “don’t belong” in a terminal. For example, he explicitly refuses to add tabs. The philosophy is that Alacritty should only be a terminal; if you want extra features, combine it with other tools. I personally like this subtractive approach to features. The downside is that compared to iTerm2, Alacritty is less “out of the box”—iTerm2 does ship with a lot of conveniences.
Tmux
As mentioned earlier, Alacritty has no built‑in tab support and is intended to be combined with other tools. For that, I chose tmux.
To be honest, before playing with Alacritty I had zero experience with tmux. All I knew was that service developers used it a lot and it could somehow keep your SSH sessions alive.
Back to the topic: tmux is a terminal multiplexer. It allows you to create, access, and control multiple terminals in a single screen, decoupling terminal windows from sessions.
tmux itself is also a pseudo‑terminal. From the earlier article we know that pseudo‑terminals are already a complex mechanism, so running a pseudo‑terminal inside another pseudo‑terminal is even more complex. Implementing tmux is no small feat.
Installation
Installing tmux is also easy with Homebrew:
brew install tmux
Configuration
tmux is configured with a file named ~/.tmux.conf, which you need to create yourself.
First, I change the default keybinding prefix (referred to as the prefix below). The default is Ctrl‑b, but since I map Caps Lock to Control, Ctrl‑b requires a bit of a stretch and feels awkward. I prefer Ctrl‑s instead. (Some people use Ctrl‑a, but that’s too close for me; s feels just right.)
unbind C-b
set-option -g prefix C-s
bind C-s send-prefix
Unlike Alacritty, tmux doesn’t automatically reload its config when you save it. A new tmux server only picks up the config at startup. So we should add a hot‑reload binding:
bind r source-file ~/.tmux.conf
Now whenever I update the config, I can press Ctrl‑s then r to reload it.
Next is mouse support. While I mostly use the keyboard, the mouse is sometimes faster.
set -g mouse on
Then there’s a color issue. The first time I opened Neovim under Alacritty + tmux, the background was bright pink, while other programs looked fine—only Neovim was broken. My first guess was a color scheme problem, but I didn’t find anything in the gruvbox‑material issues. I then suspected tmux’s true color settings, and indeed found a related issue in the tmux repo. The following config fixed it:
set -g default-terminal "screen-256color"
set -ga terminal-overrides ",*256col*:Tc"
Next are panes—specifically how to create and switch them, which are very common operations.
By default, tmux binds pane splitting to prefix + % (vertical split) and prefix + " (horizontal split). Both require holding Shift, which is inefficient and hard to remember, so I remap them to prefix + v and prefix + i:
bind v split-window -h
bind i split-window -v
By default, pane navigation uses prefix + arrow keys, but as an HHKB user, arrow keys are themselves a combo, so I remap pane movement to Vim keys:
bind -r h select-pane -L
bind -r j select-pane -D
bind -r k select-pane -U
bind -r l select-pane -R
Note the -r flag after bind, which makes the binding repeatable. Without -r, if you want to quickly move across multiple panes you must repeatedly press prefix + h/j/k/l. With -r, you can hold the key after the first prefix.
Another annoyance is clear‑screen behavior. As mentioned earlier, Alacritty isn’t perfect. For example, manual clearing: in iTerm2 you can press Cmd‑K or run clear to “fully” clear the screen, but in Alacritty both will only visually clear the screen—if you scroll up you still see the previous content. I work around this using tmux:
bind -n C-k send-keys -R ^M \; clear-history
Explanation:
-n C-kmakes this binding work without the prefix, soCtrl‑kalone triggers it, which better matches the oldCmd‑Khabit. (Note: if any of your CLI tools or plugins useCtrl‑k, you should remove-n, otherwise you’ll accidentally clear the screen during normal usage.)-Rresets the terminal state.^Mis a literal Enter. My shell prompt spans two lines, so after clearing, the prompt itself disappears; I send an extra newline so the shell prints a fresh prompt.clear-historytells tmux to clear the terminal’s scrollback history.
Finally, some UI tweaks (nothing too special):
set -g status-style bg=color187   # Use 256‑color index 187 for the status bar background
set -g status-right "#T"         # Show only the window title on the right side

# By default, tmux indices start at 0; change to 1 for more natural usage
set -g base-index 1
set -g pane-base-index 1
One last note: many tutorials say tmux uses its own copy/paste buffer, and you need extra setup to integrate with the system clipboard. On macOS, with mouse support enabled, I’ve found that selecting text with the mouse and then releasing it already copies the text into the system clipboard. Likewise, pasting from the system clipboard into the terminal works fine. I’m not sure whether that’s thanks to tmux or Alacritty.
Perfect Pairing
Finally, let’s wire Alacritty and tmux together.
Open your Alacritty config again and add this at the end:
shell:
  program: /usr/local/bin/fish
  args:
    - -l
    - -c
    - "tmux attach || tmux -2"
This config tells Alacritty to launch fish as the shell and start tmux at startup: it first tries tmux attach to re‑attach to an existing session, and if that fails, it runs tmux -2 to create a new session. The -2 flag forces tmux to use true color.
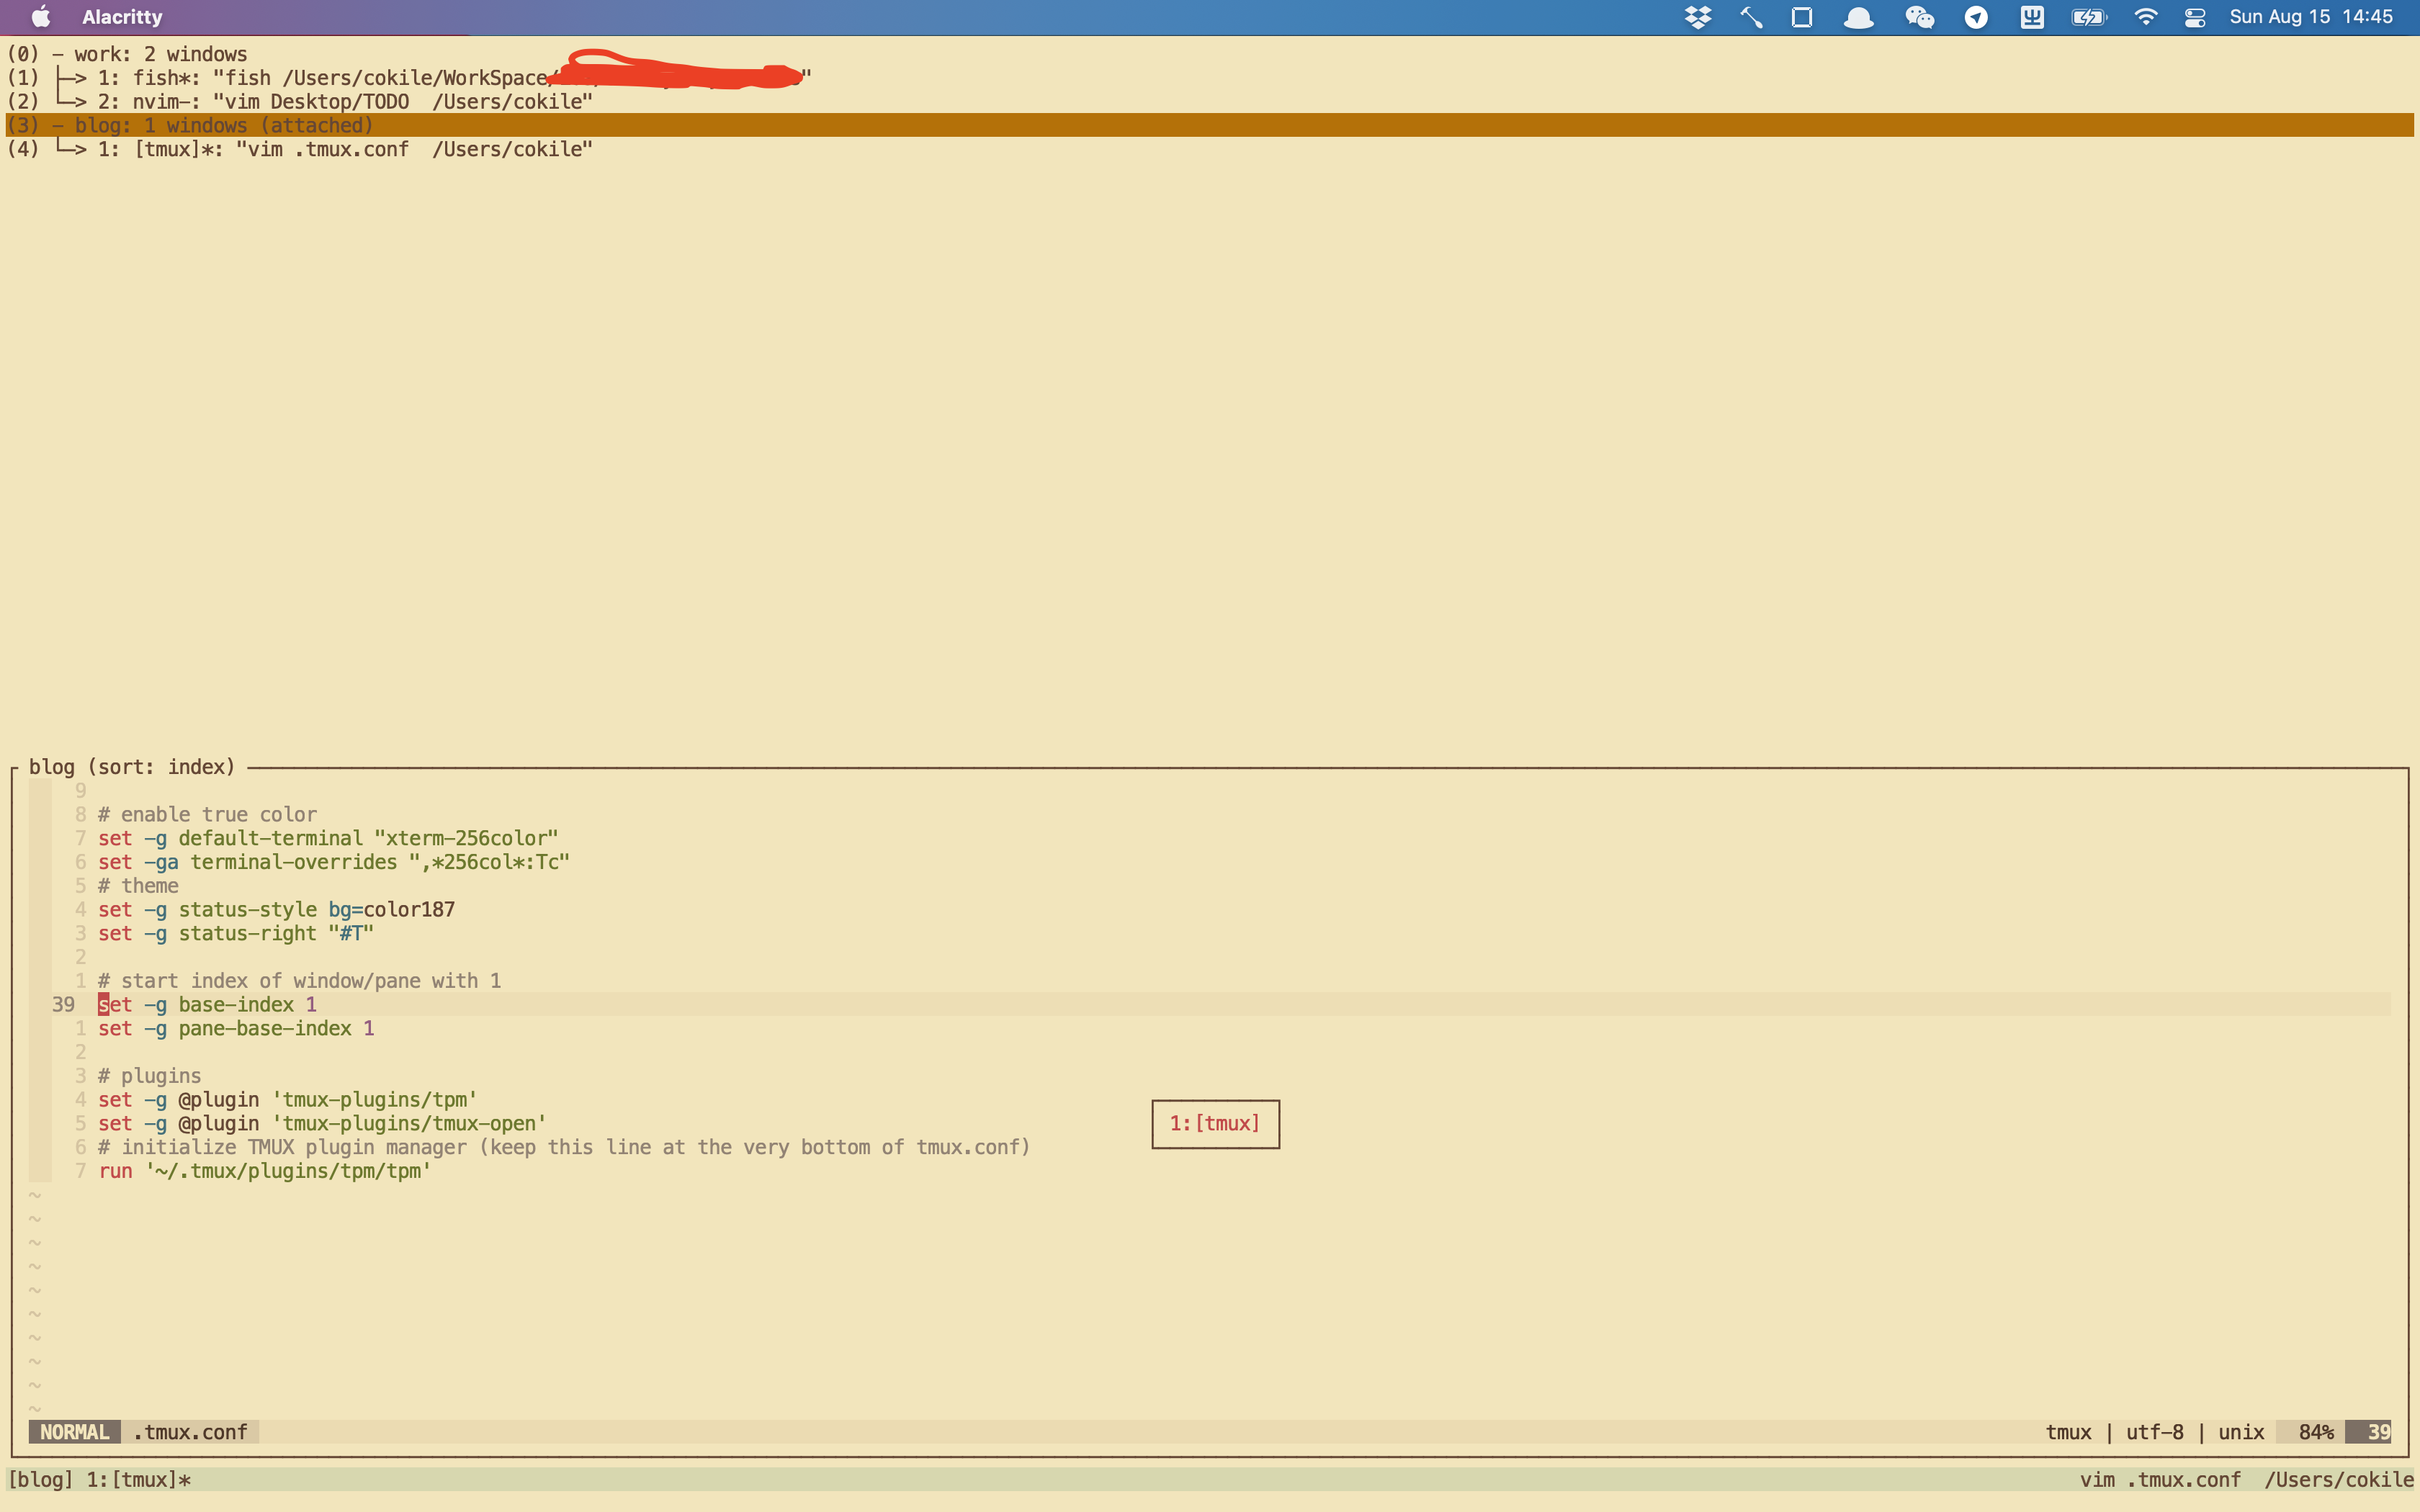
With this setup, Alacritty + tmux fully covers my daily needs. They are now an indispensable part of my workflow. Here’s a screenshot of my setup:
Conclusion
This article documents my journey setting up Alacritty + tmux. Although it might seem fast when you just read through it, in reality it took an entire weekend to get everything just right.
Back when I used iTerm2, I was too lazy to learn pane shortcuts. 99% of the time I just used Cmd‑T to create new tabs and Cmd‑[1–9] to switch between them, which was not very efficient. Switching to a new terminal forced me to learn new tools and, in turn, improved my productivity.
References
Updates
2022-10-13
The Alacritty release from today has finally fixed the IME deletion issue.